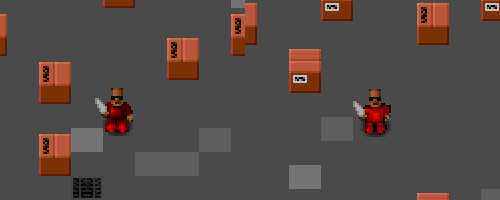
In the recent C-Dogs SDL release, I introduced a new walk cycle animation using pre-rendered 3D sprites; check it out (before, after):
The content pipeline goes like this: Blender, bash/python render scripts, Imagemagick touch-up, montage spritesheet. The results are surprisingly good, given that no manual retouching was required; I can directly edit the blender file, and create updated spritesheets.
Background
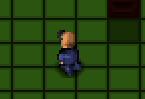
Initially I was leery of this whole project. Pixel art is usually done by hand and laborious enough already; creating animations just makes the amount of work explode. The original sprites only had 4 directions (left/right can’t be mirrored due to the gun-handedness), 2 poses (unarmed and holding gun), with idle (1 frame) and walk (4 frames) animations, for a total of 4 × 2 × (4 + 1) = 40 frames. The project was to show all 8 directions with an improved walk cycle of at least 8 frames, which would make the total number of frames balloon to 8 × 2 × (8 + 1) = 144 frames. That’s a lot of work to do manually!
Not only that, but there are future plans for more improvements, like “textures”, different body types, different animations, each of which multiplies the amount of sprites.
Obviously the alternative is to model and animate the whole thing in 3D. But there are big questions around this approach. Will the animations look as good? Can rendered sprites avoid that “rendered” look?
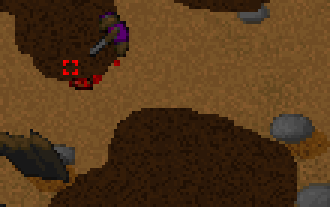
This is what pre-rendered sprites looked like in the 90’s
Blender
I haven’t really used Blender for 15 years, and I remembered it for being a very hotkey-heavy and idiosyncratic application. Amazingly, its UX hardly changed in all these years, so it was every bit as hard to use as before. Fortunately, these days we have so many free Blender projects to use as examples (e.g. from opengameart.org), and great resources like Blender Stack Exchange, it was really easy to pick things up again.
For rendering spritesheets from Blender, Clint Bellanger’s Isometric Tiles in Blender article is invaluable.
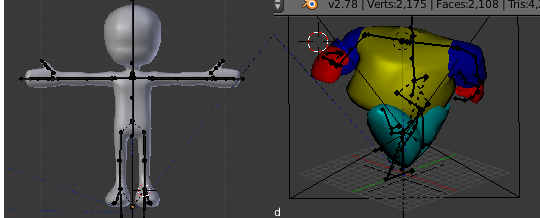
From here it’s just a matter of struggling and applying animation principles, to go from a nice base model to the proportions of the C-Dogs potbellied “Cyberdogs”:
Rendering
To render a spritesheet, we can’t just use the built-in render settings in Blender, as we’ll need to render multiple animations and multiple camera angles. Here’s where Blender’s python scripting comes in handy.
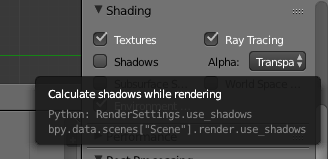
Personally I’m not really keen on learning a whole new scripting language just to get one small thing done. But Blender makes this as easy as possible by adding scripting tooltips throughout the application, so it’s super easy to know what to search for if you want to transfer something from Blender to script.
Imagemagick
Blender can render individual images, and from here we can use Imagemagick’s montage to stitch them together into a spritesheet. But Imagemagick has more use than that.
You see, it’s very hard to avoid that “3D rendered” look from Blender. There are ways to make it look more like 2D sprites, like cel shading, and other more specific shaders, but each has a distinctive look. It can take a lot of work to set up the lighting and shading to get the right effect.
Instead, a more economical way would be to use Imagemagick’s image processing functions to tweak the output image directly. I used a simple level shift function to get the curves to match up with the old sprites.
![]()
Final Result
The final result is surprisingly good, given how relatively simple the processing was - no special shaders used. I was a bit worried that the renders are a bit rough, but I guess when animated you don’t really notice.
If you’re currently thinking about doing a lot of sprite work but are worried about the quality and the amount of work required, definitely give this workflow a try.